I’ve been on the hunt to find some type of art or project to put above the tv in our living room because that wall looked so sad and blank. I got an Ikea magazine in the mail and was basically drooling over all the beautiful rooms wishing that they were all in one house that I could buy. Fat chance, right?
Over the past year and a half, I’ve found little ways to make my apartment feel more like mine. When I moved in, we had very little furniture and of course, our funds were very tight. We used the two broken wood chairs found in our crawlspace as seats in the kitchen with a tupperware bin as our table. Typical post grad apartment. Now, we actually have some kitchen furniture, our living room is becoming a more comfortable and relaxing place, and we have some handmade art hanging on our walls to add personality. However, all of this took so much time.
I go to thrift shops every once in awhile to see what I can find- clothes, curtains, shelving units, anything I can use to make my life feel more livable and normal. I hit gold the last time I was there! I found an old shadow box with a few scratches for $1.99 as well as this bag filled with small wooden boxes that had chinese characters written on the sides for $1.99 as well. An idea sparked and $4 later, I walked out with determination and a project in mind.
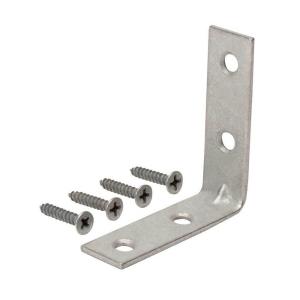
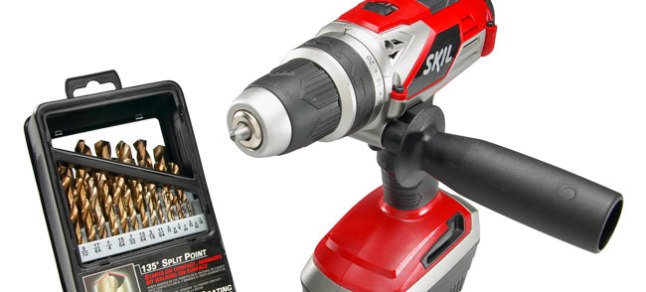
Thankfully the scratches on the shadow box weren’t too bad or else I would’ve had to sand them down a bit. Outside, I then spray painted each other the boxes and let them dry for an hour or two between each side. Once these were dry, I took a quick trip to Home Depot to find something called an L bracket. L brackets line up to the wall and then have the other flat side against the box or whatever you are trying to hang that protrudes off of your wall. I found ones in the correct sizes for about $5 total. You will also need appropriate size screws, a drill and drill bits, a ruler, a stud finder and a level to finish this project!
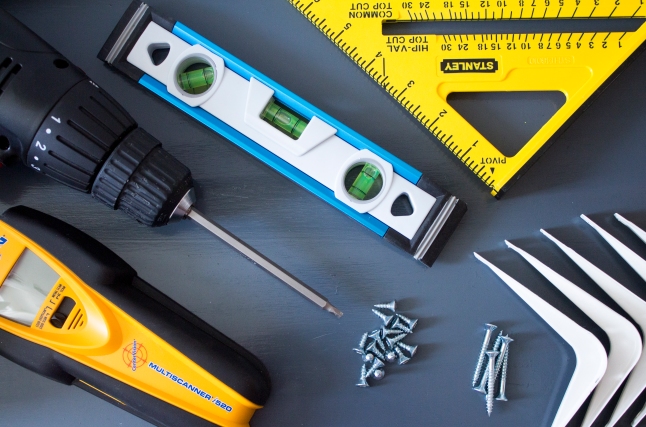 (*** I lacked a stud finder and a level for this project which definitely elongated the process of making sure everything was even and equidistant apart from each other. Thankfully, there is a level app for the iPhone that you can download for free called the iHandy Level! There are also stud finder apps that you can buy but I’m not sure how reliable they are!)
One of the most important things to do is to first measure your wall space and find what’s center of the area where you want the structure to go. Using a ruler, I marked where I was interested in hanging each item. Next, using a stud finder I would check all markings to see if you would be drilling into a wooden beam or just through the dry wall. Once you hit a wooden beam, it becomes very difficult to drill through. Once all of the markings are double checked, prepare your drill with a drill bit which measures appropriate size to the screws. I would always recommend going a size smaller than the screw so there screw isn’t loose and holds it’s spot in the wall.
Pre-drill holes where each of the screws are going to go. Change the head of the drill to match a Phillips head screw (the one that looks like an X). At this point, I then drilled half of the L brackets into the pieces I planned on attaching to the wall. For the shadow box, I used 2 L brackets to help sustain some of the anticipated weight but for each small box, I only found it necessary to use one.
Before lining the boxes up to the wall, I would use a level to draw a line to make sure the box will remain straight when drilling into the wall. Like I said, the level and the stud finder really would’ve helped me! At this point, I just continued to drill each one into the wall, analyzing when I was close to tightening the screws as much as possible to make sure it was even. With the shadow box, I made sure to discard the glass so I would have easy access to the plants!
Once I was done, all I had to do was add plants! Succulents are not only very popular at the moment, but also really easy to maintain. My living room gets a range of lighting and succulents can thrive even in the worst conditions. I ended up buying 4 air plants at $5 a piece, a couple cacti and a few hanging plants for a good arrangement. Every couple of weeks, I’ll have to pull down the plants to water and drain them before placing them back to keep them healthy. Air plants are also great because they can get moisture from the air and only need to be placed in an inch or two of water every couple of weeks.
TA-DAHHHHHH!
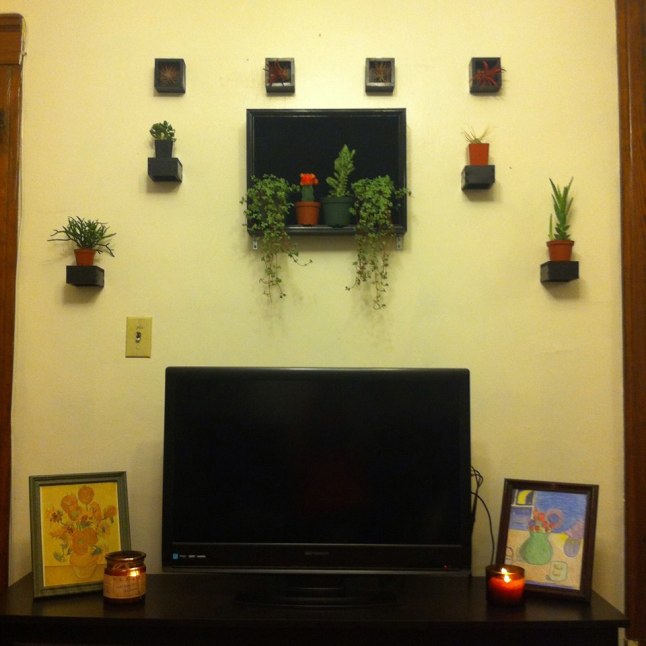 I’m so so happy with the finished project and it really adds a nice living and green touch to the living room. Overall, the materials only cost me $9 or $10 dollars but the plants were $60 making this project under $75 to make. This is definitely a project that can travel with me to any other house to add some life to a new place!
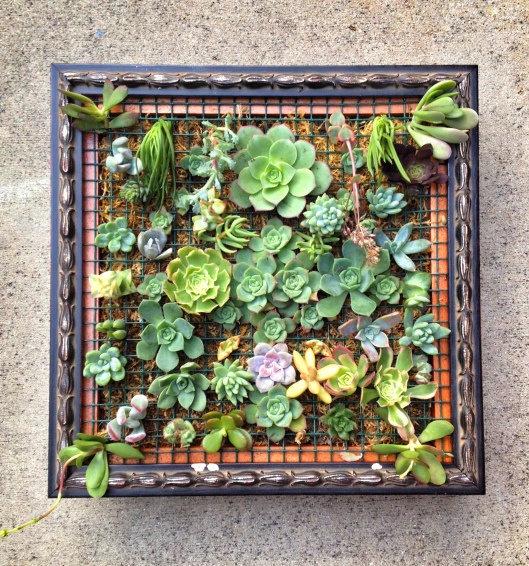
There are a few other ways to make a succulent wall using an old picture frame that takes a little more work. I found links on other websites for how to create that kind of DIY; check it out here or buy it from here!
 Thanks for reading and come back again on Food for Thought Thursday! Holla atchu guys l8trrrrrrrrrr


